
Rooftop Unit Replacement by Crane
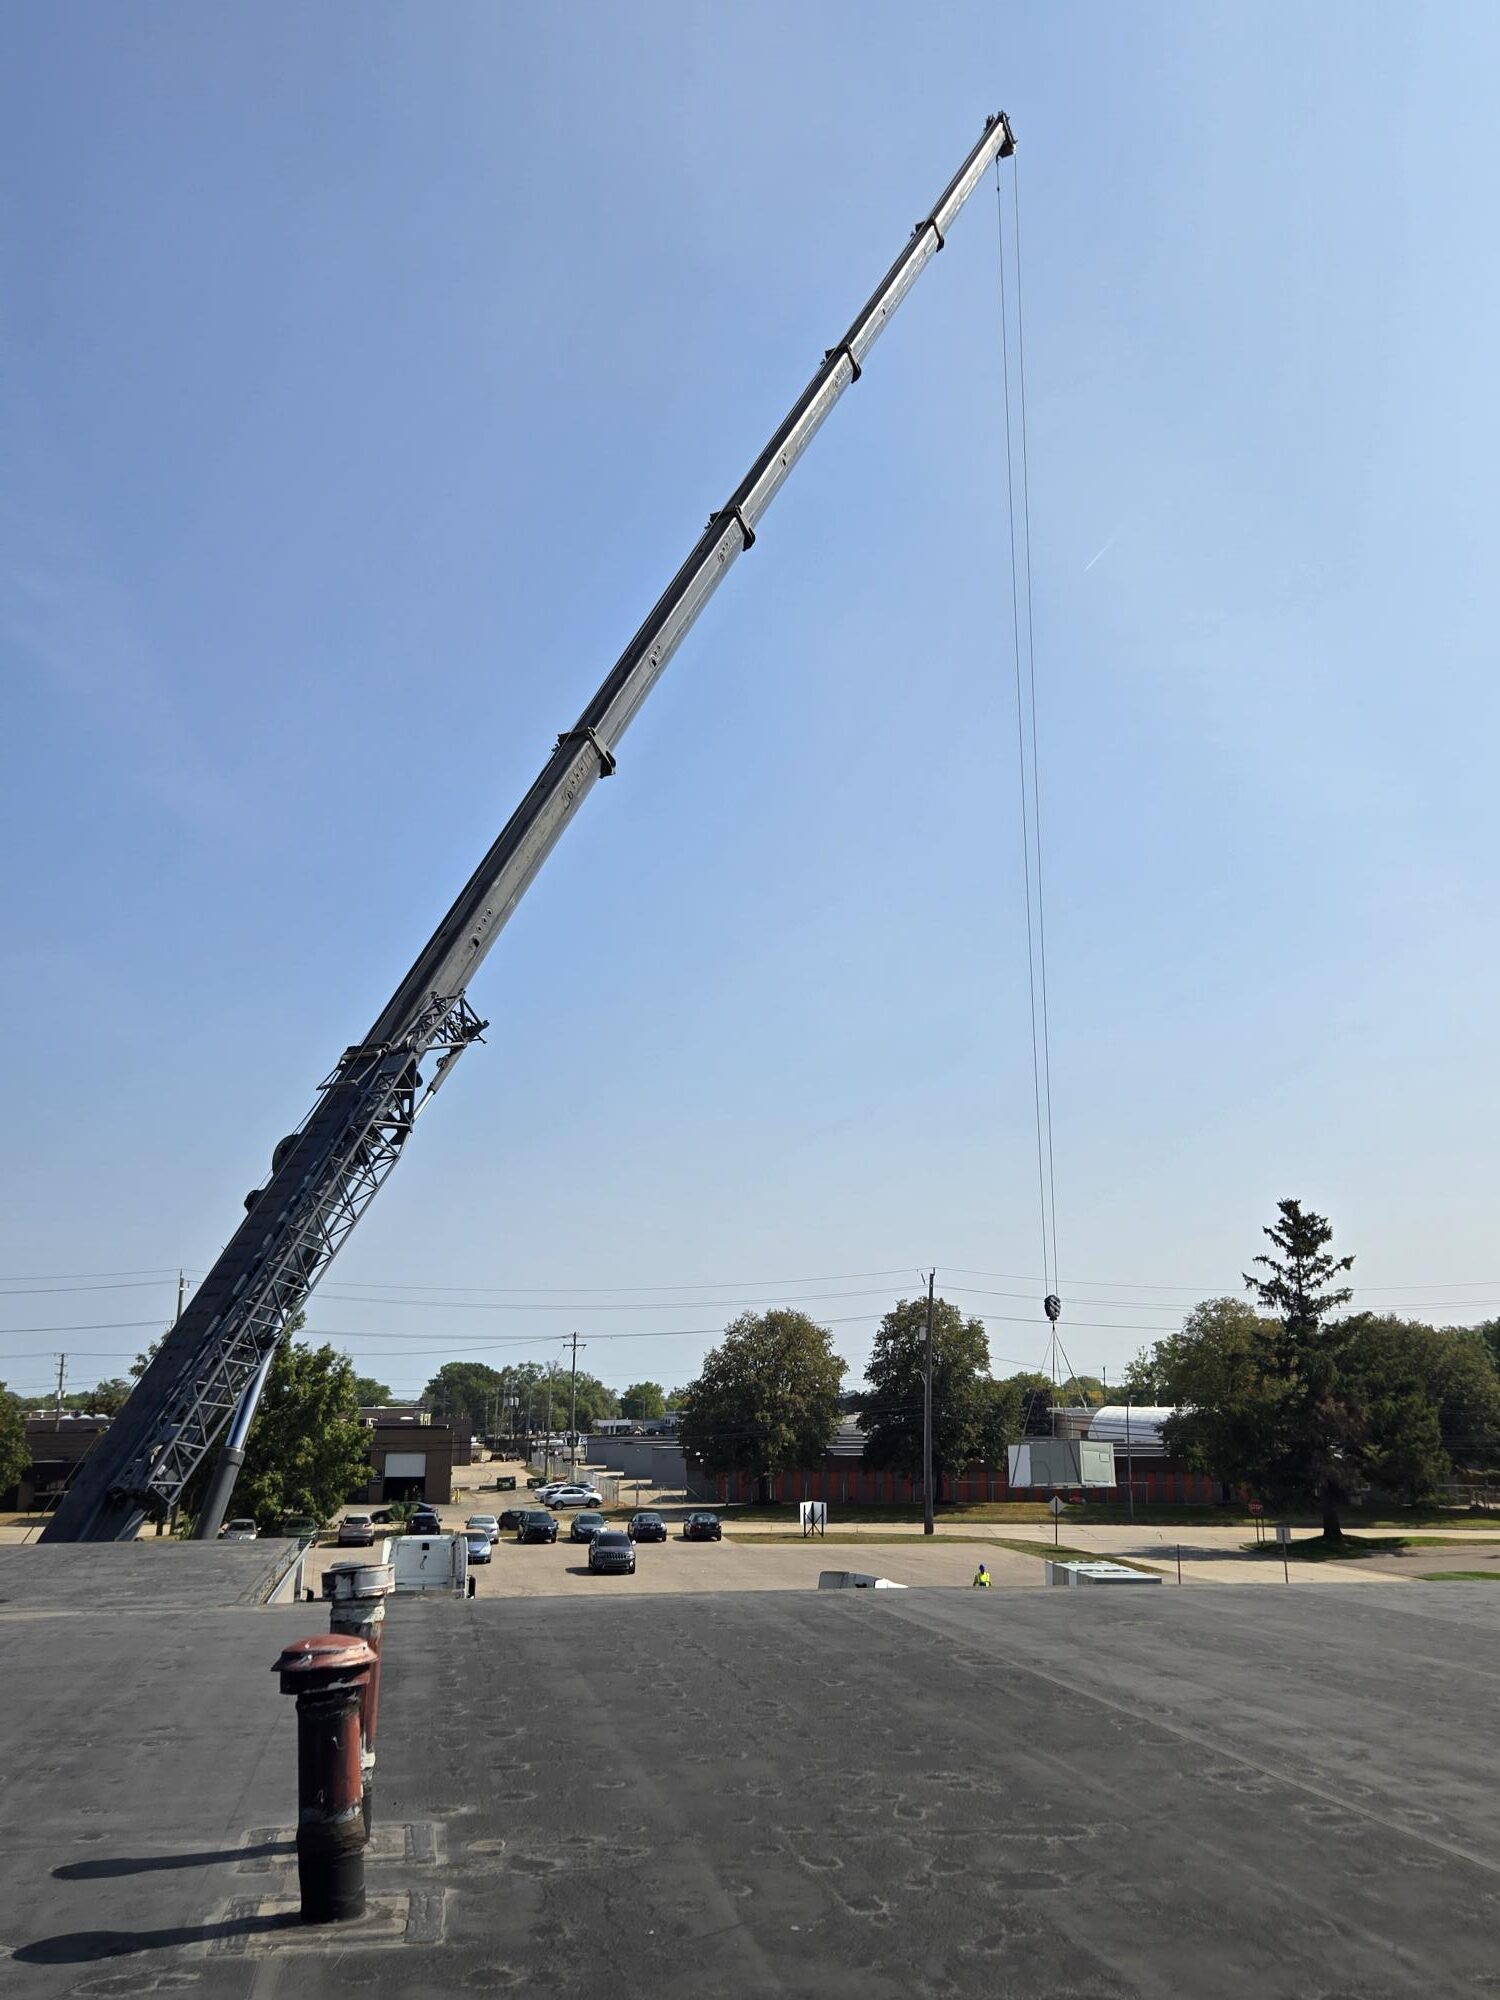
If you’ve ever seen a crane towering over a commercial building, with a large piece of equipment dangling above the roofline, you may have wondered what it takes to pull that off. For many commercial buildings, a crane lift is the safest and most efficient way to replace a rooftop unit (RTU). Here’s what goes on behind the scenes, from the first site visit to the moment your new unit is up and running.
Why Use a Crane at All?
Rooftop units can weigh hundreds or thousands of pounds, and they sit high above the ground. There’s no practical way to carry one up a ladder or stairwell. A crane lets the crew:
- Remove the old unit and set the new one safely and precisely
- Work faster, which means less downtime for your building
- Avoid damaging the roof, the building, or the equipment
- Keep technicians out of risky situations like manual hauling
Step 1: Planning and Site Assessment
A good lift starts long before the crane arrives. The team visits the site to look at:
- The old unit and the new unit. Size, weight, connections, and curb dimensions need to match, or the right adapter must be planned.
- The roof. Can it support the equipment, the crew, and their gear? Is there a safe path to the unit?
- Crane access. Where can the crane park, and how far does it need to reach? Overhead power lines, trees, narrow streets, and building features all affect the plan.
- Utilities. Electrical, gas, controls, condensate, and refrigerant connections all need to be identified.
- Surrounding conditions. Nearby buildings, parking, and foot traffic all matter.
Careful planning here prevents surprises on lift day.
Step 2: Permits, Scheduling, and Coordination
Depending on your location, a crane lift may require permits, street or sidewalk closures, or notice to the property owner, tenants, or neighbors. Your contractor will coordinate:
- Permits and approvals as required locally
- Crane scheduling and the right size crane for the job
- Lift timing, often early in the morning, on weekends, or after hours to limit disruption
- Communication with building staff, tenants, and anyone who may be affected
It’s also smart to confirm your insurance and any building rules before lift day.
Step 3: Prepping the Unit and the Roof
Before the crane starts moving anything, the crew prepares the site:
- Shutting down and isolating the system. Power and gas are safely shut off and locked out.
- Recovering refrigerant. Refrigerant must be recovered properly rather than vented into the air. This work requires an EPA 608 certified technician.
- Disconnecting the old unit. Electrical, gas, controls, condensate, and ductwork connections are carefully separated, and the unit is prepared for lifting.
- Preparing the curb. The roof curb is checked, cleaned, and adjusted. If the new unit isn’t the same size as the old one, a curb adapter may be installed to make it fit.
- Setting up the safety zone. Areas below the lift are marked off and kept clear of people.
Step 4: Rigging and Safety Checks
Rigging is the process of attaching the unit to the crane. The crew uses rated slings, spreader bars, and lifting points to make sure the weight is balanced and secure. Before any lift, the team typically:
- Confirms the unit’s weight and the crane’s capacity
- Inspects all rigging equipment
- Checks weather conditions, since high winds, lightning, or ice can delay a lift
- Reviews the plan in a quick safety meeting
- Sets up radio or hand signal communication between the crane operator, the rooftop crew, and the ground crew
If conditions aren’t safe, the lift gets rescheduled. That’s a normal part of doing the job right.
Step 5: The Lift
This is the part everyone notices. The sequence usually looks like this:
- The old unit is lifted off its curb. The crew carefully lifts it clear and swings it away from the building.
- The old unit is set down at ground level, ready to be hauled away.
- The new unit is rigged and lifted up. It travels slowly and steadily, guided by tag lines and signals.
- The new unit is lowered onto the curb. A rooftop crew guides it into position, and precision matters here. A good fit helps keep rain and air out.
- The unit is secured and sealed to the curb, and the crane is released.
The lift itself is often fast, sometimes a matter of minutes per piece, but everything before and after it is what makes it go smoothly.
Step 6: Reconnecting Everything
With the new unit in place, the crew gets it ready to run:
- Reconnecting electrical power and controls
- Reconnecting and testing gas lines, with leak checks
- Hooking up ductwork, condensate drains, and any related components
- Installing or reconnecting thermostats and building controls
- Charging refrigerant to the correct level, again by a certified technician
- Sealing and weatherproofing around the unit
Step 7: Startup and Testing
Installation isn’t finished until the equipment is proven to work. During startup and commissioning, the technicians:
- Power up the unit and check for proper operation
- Test heating and cooling modes
- Verify airflow, temperatures, and pressures
- Confirm safety controls and shutoffs work
- Check gas combustion, if applicable
- Make sure controls and schedules are set correctly
- Walk through the results and answer any questions
Step 8: Cleanup and Handoff
The old unit is hauled away and disposed of or recycled properly. The roof is cleaned up, the area is checked for debris, and the crew documents the work. You should receive information on warranty, startup results, and maintenance recommendations for your new equipment.
How Long Does It Take?
It depends on the building, the size of the unit, and the complexity of the connections. Some replacements can be completed in a day, while larger or more complicated projects take longer. Weather, permits, and the condition of the existing curb and connections can also affect the timeline. Your contractor can give you a realistic estimate after the site visit.
What Building Owners Can Do to Help
- Share information early. Tell your contractor about roof access, restrictions, tenants, and any known issues.
- Plan for the lift day. Let staff and tenants know when the crane will be on site and what areas may be affected.
- Clear the area. Make sure parking, loading areas, and access routes are free where the crane and crew need to work.
- Ask about timing. After-hours or weekend lifts can reduce disruption.
- Ask for documentation. Keep records of the installation, warranty, and startup results.
After the Lift: Protect Your Investment
A new rooftop unit is a major investment, and regular care helps it last. A preventive maintenance agreement schedules regular inspections and tune-ups so small issues are caught early, filters are changed on time, and the unit stays efficient. Many owners set one up right after an installation to make sure the new equipment gets off to a good start.
The Bottom Line
A crane lift may look like a dramatic event, but it’s the result of careful planning, skilled crews, and strict safety practices. When it’s done right, the crane is in and out quickly, your new unit is running reliably, and your building experiences minimal disruption.
If you think one of your rooftop units is nearing the end of its life, or you’re planning a replacement, Level One can help you plan it from the first site visit to the final startup. We’re available 24/7/365 for service, and we offer preventive maintenance agreements to keep your new equipment running at its best. Contact us at 844-616-4822 or visit levelonehvac.com to get started.
Serving all of Michigan
Toll Free: 844-616-4822
Grand Rapids: 616-616-4822
New Hudson: 248-486-6500
West Branch: 989-999-4822